
 |
| Paper Flower Dessert Table Backdrop |
Today we'll learn how to make the last flower, what I call the Rolled Cone Flower. As before, you'll need more of that roll of paper, scissors, and a glue gun. Tape is handy for this one, too, but not necessary.
This is what I mean by Rolled Cone Flower:

These are incredibly easy, and you can make them very large. This is good for two reasons. First, because the large scale is dramatic. Second, the larger your flowers are, the fewer you have to make!
First, cut your petals. They should look like slightly tapered U shapes (narrower at the top of the U). But don't knock yourself out worrying about getting it just right. Rhatever you cut will be just fine. Really.

Roll each petal into a cone, and secure with tape or hot glue. Tape is faster, but the glue gun works just as well.
Arrange the cones so that they form a circle, with the points meeting in the middle. I usually used six for each flower, but it really depends on the size of your petals. Use as many as you need. Glue together using the glue gun.

Make a fringe flower center, if desired, and glue to the center of the flower.
The only other element on the backdrop were the leaves. These were insanely simple to make, and were great filler. I used a lot of leaves.

The instructions for these are pretty darn obvious. Cut out leaf shape. Fold in half to give some dimension. Voila, leaves!
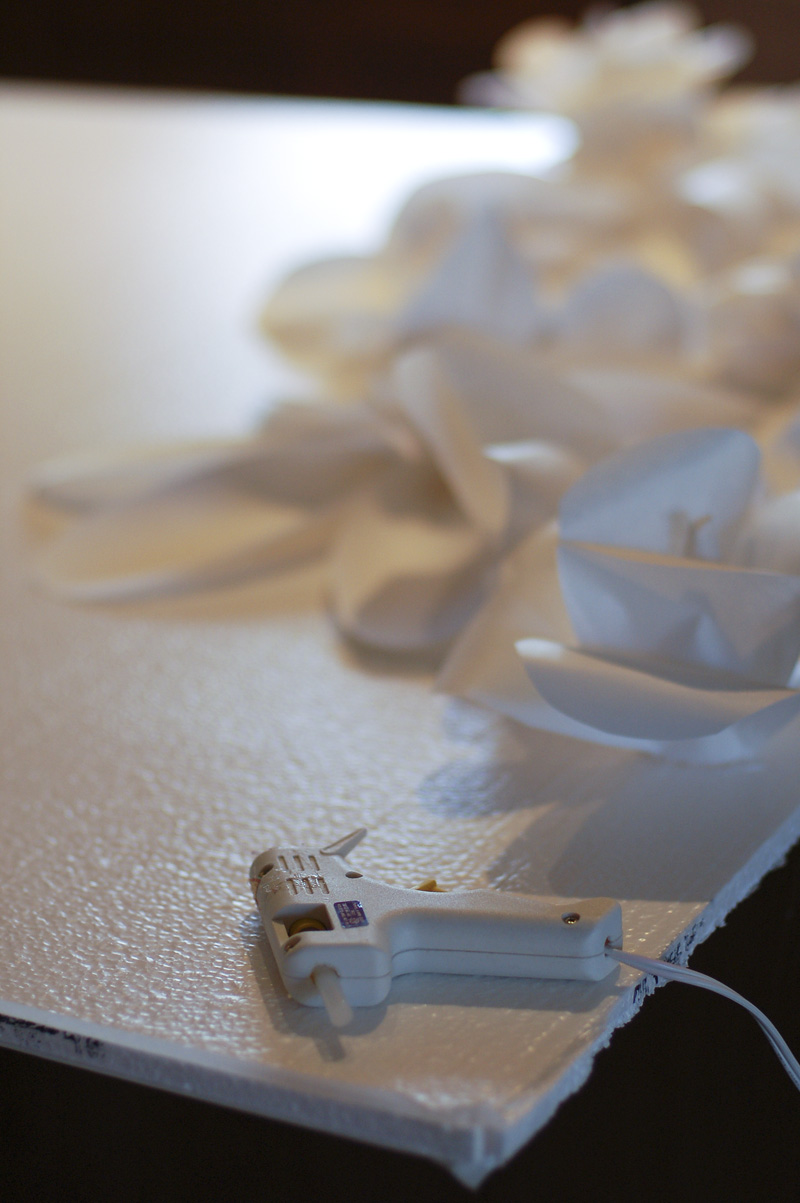
You've done the grunt work--now let's see it all come together into a thing of beauty. To make the paper flower backdrop, you'll need:
- your trusty glue gun
- your mountains of paper flowers
- a 4 x 8 sheet of foam insulation sheeting from your local Lowes or Home Depot

The foam insulating sheet is lightweight, easily can be cut to whatever size or shape you want, and is very inexpensive. I think I paid about $6.50 for mine.
Now all you need to do is use your glue gun and start sticking on those flowers!
Use the leaves to fill in the cracks between the flowers. A little bit of the Styrofoam will still be visible, but when you're doing a white-on-white background like this, it just looks like part of the design. If you were to do this project in a different color (I'd love to try it with wrapping paper!) I'd paint or cover the Styrofoam first.
I hope you've enjoyed learning how I made the backdrop for the Secret Garden baby shower. I can imagine a ton of other applications for this type of project. The most incredible photobooth backdrop ever? cover cardboard columns and arches to make an insanely beautiful focal point for a wedding ceremony? Me, I'm planning to re-use the backdrop as an art piece in my bedroom, whenever I get around to re-painting the awful purple sponge painting left behind by the previous owners.
Nicole- I can't believe you did this all yourself! It's so detailed and turned out beautifully... I love reading through your tutorials. xo
ReplyDeleteSeriously, this is the most amazing thing ever! And I can totally do it! Will you please please please post pictures of this once you get it hung in your bedroom? I wanna see how it looks as an art piece. Thanks so much for sharing!
ReplyDeleteYou just became my mentor!!! I LOOOOOVE LOOOOVE LOOOVE what you do! My eldest girl wants a Ciderella Party for her birthday, i showed her you baby shower, she asked if a fairy did that, how cute! You are a real fairy honnestly! Thank you thank you so much fo sharing your tips!
ReplyDeleteIt's fabulous! I'm sure gonna try to make it!!
Blessings!
Eloïse, from France!
I made a different version of this and loved it!
ReplyDeleteVery beautiful!
ReplyDeleteThis is absolutely gorgeous!! But how did you hang it or get it to stay next to the table?!!!
ReplyDeleteIt just sat on the table top and rested against the wall behind. Super easy!
ReplyDeleteNicole - you are so amazingly creative & talented!! I LOVE THIS! I'm hosting a baby shower next week, and I think I'm gonna give it a whirl! I also love your idea about using it as an art piece - I totally need something like that in our bedroom! Thanks for sharing these tutorials!
ReplyDeleteI'm thinking of using these, pinned to a white cloth, as a photo brackdrop. Gorgeous idea!
ReplyDeleteOlá!!
ReplyDeleteMeu nome é Adriana e sou brasileira (Belém-PA).
Gostaria de agradecer por sua generosidade. Eu me inspirei nesse tutorial para decorar meu casamento!!
Fiz de um jeito diferente e ficou bem interessante!! Meus convidados amaram!!!
Muito muito muito OBRIGADA!!!!
Your article has proven useful to me. It’s very informative and you are obviously very knowledgeable in this area. You have opened my eyes to varying views on this topic with interesting and solid content. Feel free to visit my website; 안전놀이터
ReplyDeleteIntimately, the article is in reality the best on this precious topic. I agree with your conclusions and also can thirstily look forward to your coming updates. Feel free to visit my website; 카지노
ReplyDeleteHi there! This article could not be written much better Reading through this article reminds me of my previous roommate! He continually kept preaching about this. I’ll forward this information to him. Feel free to visit my website; 토토
ReplyDeleteA topic close to my heart many thanks, i have been thinking about about this subject for some time. car detailing chemical products Pakistan
ReplyDeleteBusiness branding services help create a strong and consistent identity across all platforms. They build trust, recognition, and emotional connection with customers. Strong branding plays a key role in long-term business success. Business branding services
ReplyDelete